
How to produce GPX track files
The easy way
If you own one of the late 2011 onwards Garmin eTrex units (eTrex 10, 20 or 30) you just record and save a track then plug you GPS into the USB port. Shortly afterwards your GPS will be visible as a new disk drive on the computer and your track will be there as a GPX file.
The other way
The older Garmins use their own data storage format, so you need some software which can read it and then store it in GPX form. So, if you have not yet done so, go to the GPX TrackMaker site and download a copy of their free data processing program. While there, download the operating manual as well.
 You will need to get the data from your GPS into the TrackMaker program. For this you need to purchase a cable. These are currently sold on Ebay at a price of Ł12 - Ł20.
You should sort through the items listed to find the correct connector at the GPS end. If (as currently most likely) you have a GPS with the older serial connector and a modern computer with a USB socket, then choose a cable with a built-in converter unit. The one in the photo is the correct type for most Garmins. (A Garmin GPS 60 can use the cable provided)
If you are very unlucky, you may have to track-down suitable driver software. Most people will get the correct drivers provided with the cable, or even find their computer will track-down the drivers without any help.
- Now get GPS TrackMaker running on your computer and attach the GPS to the computer.
- Click on the "GPS" menu item and download ("Capture") the track you want.
The track should appear as a continuous line on a plain background.
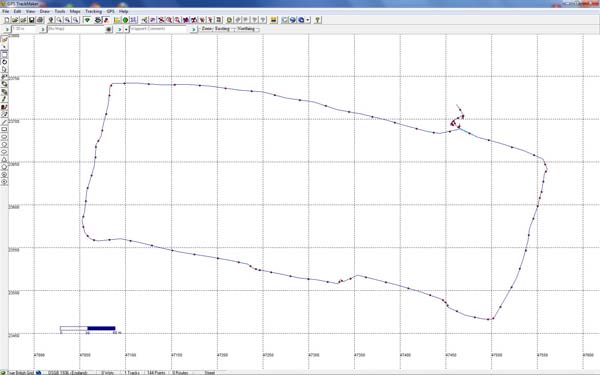 Do a Ctrl-A to select all the points and then a "Save as" to get your trackname.gpx file stored and ready for use in whatever context you planned.

